
Mova S10 Laser Sensor Repair
Usually just stuck, in this case a failing component which was easily remedied
Graveyards of Vacuums
Robot vacuums are a great technology-filled product that have become so cheap and commonplace. Once they are within reach of the budget no-name companies to clone, you are bound to have tons of dead robots in your local recycling center, or for free on marketplace. Always great to look out for them for motors, batteries, sensors, and even as is for an easy robotics platform.
Mova S10
In this case, I got a failed Mova S10 with “laser distance sensor” error. First searches on the internet are hopeful, because apparently the spinning lidar often gets stuck. Fixing just requires rotating or cleaning out debris from the module. In some cases, the motor fails and should be replaced.
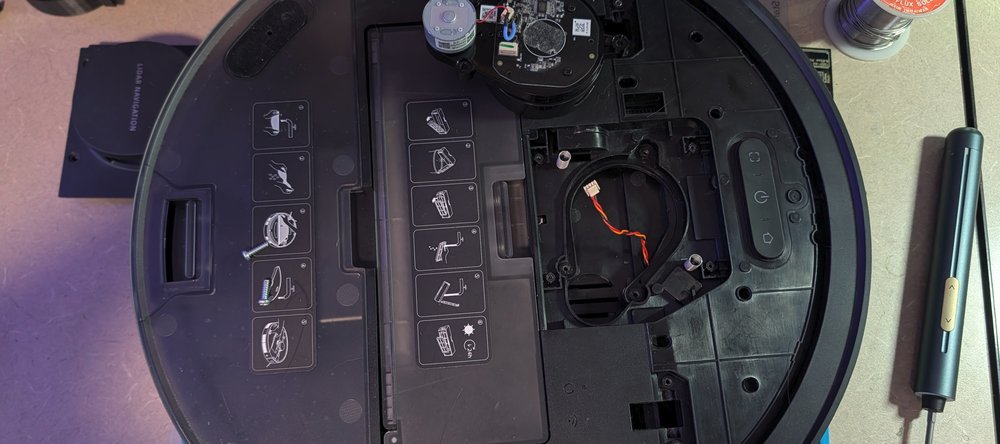
In my case, I could see the the module trying to spin but being too weak. In a rare change of events, the offending module was actually really easy to get to. A few screws/covers off the top and we could disconnect and pull it out. I disconnected the motor from the module and powered it with a 3V supply… it actually spun perfectly. This means that all the normal guidance on the internet didn’t apply here - it was mechanically sound.
Digging in Further
After tearing down the whole robot bit by bit and trying some different things, I didn’t have anything to show for it. Coming back the next day, I started poking at the circuit board on the laser module. All components are well covered in conformal coating, so messing with the actual circuitry is made difficult. On the backside of each connector, protecting the smd pins, they use a rubbery sealant instead of the hard conformal coating.
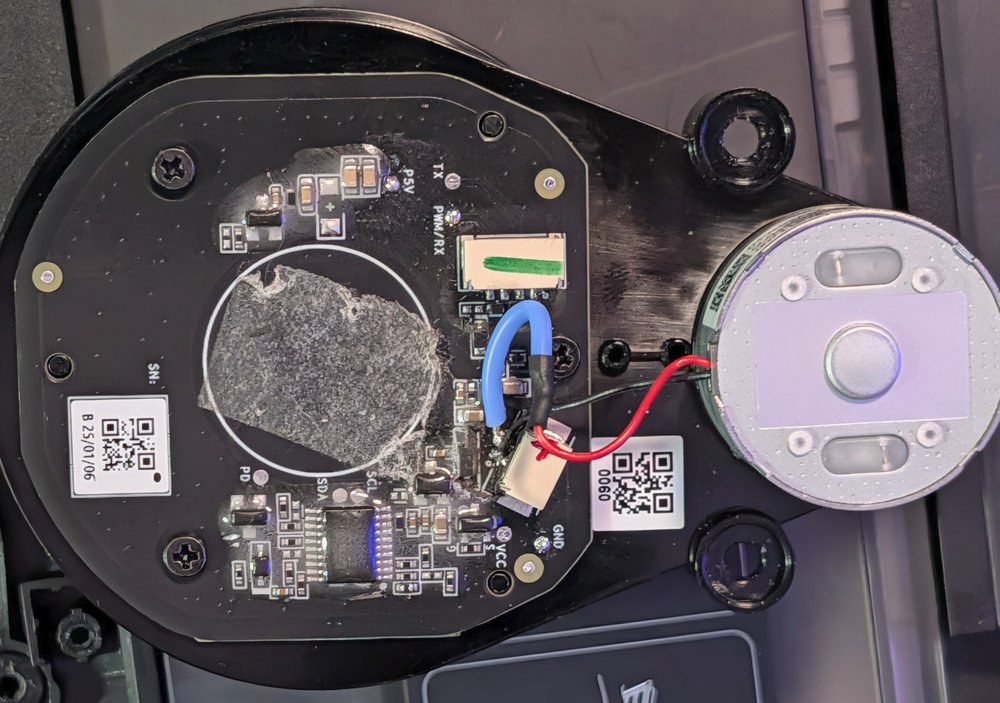
The picture above is after some modifications (wires between motor and board), which were not necessary in the end. I eventually stumbled on the problem as I picked away at the conformal coating on the board. In one spot it was a little softer I think, just below the top connector as shown. In there is a component that looks like it has some purple and gold looking color to it, and has an L on it.
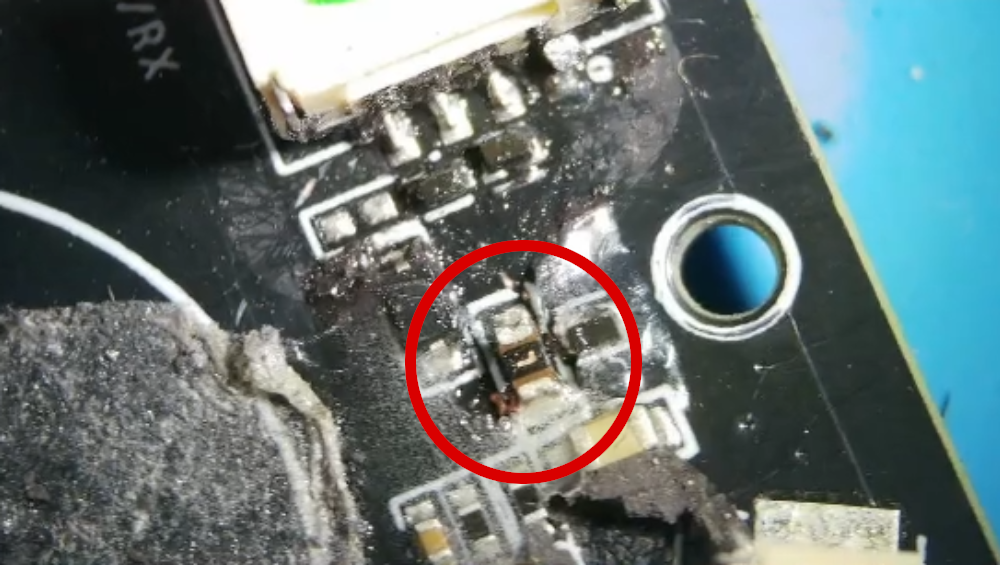
To me this looks like a polyfuse, basically a re-settable fuse. When I was digging around it to remove a big chunk of conformal coating, it popped off with it, but luckily left some of the copper traces behind. The fuse actually tested okay but I’m thinking it was barely connected to the traces below it. Perhaps a bad joint that got worse over time with heat. I bridged the pads with solder and the module was fully working again.
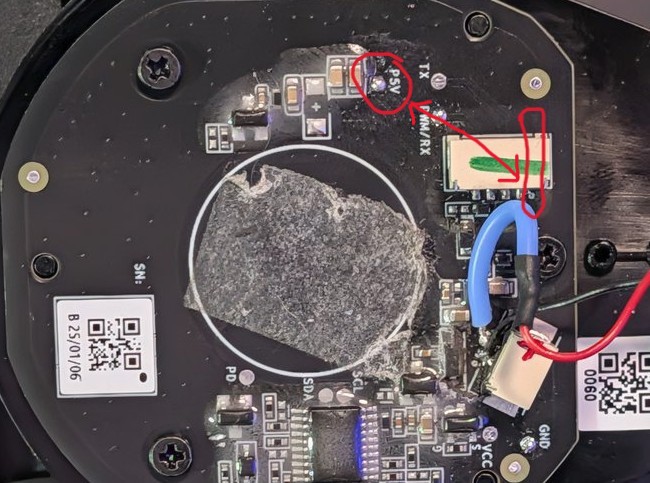
If you’re trying to troubleshoot your vacuum, check continuity between the power pin of the connector (rightmost of the four in the picture above) and the P5V test pad northwest of the connector. If it’s not continuous, you have a fuse issue. You can probe the power pin from inside the socket at first. But if you do need to do this repair, you can remove the rubbery coating on the pins of the connector in order to solder to the smd pin. It’s easier and safer than having to remove conformal coating. The p5v pad is not coated.
Good luck!